How do I setup my email in Mac AppleMail?
- Open your Mac AppleMail program
- From the "File" menu choose "Add Account"
- Enter your full name, email address and your password
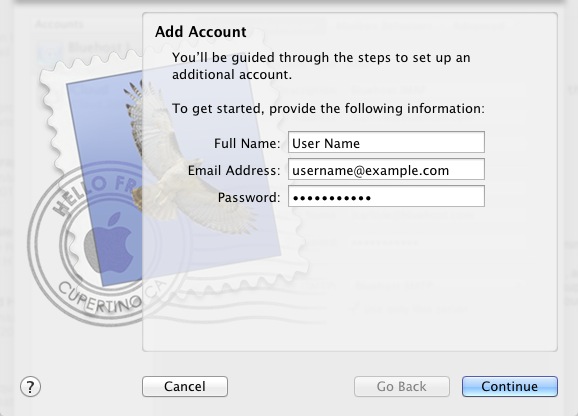
If it is listed make sure the "Automatically Setup Account" option is UNTICKED then click Continue
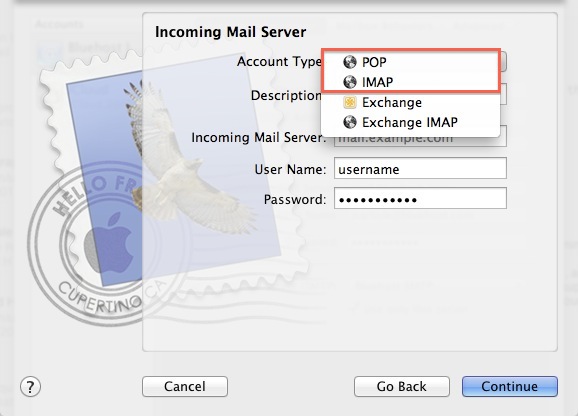
For "Account Type" choose "POP"
Enter a description for your new account
Enter your username (your email address) and your password. Your incoming mail server name is mail.yourdomainname.com where you replace "yourdomain.com" with your own domain name. Then click Continue
If you are prompted to enter Incoming Mail Server security make sure the "SSL" box is NOT ticked and that the "Port Number" field is 110
Add a description for the Outgoing Mail Server (eg Tecnet Solutions Mail Server) - MacMail allows you to re-use this Outgoing Server for other accounts if you are adding multiple email accounts.
Enter the "Outgoing Mail Server" details:
- Mail Server Name is mail.yourdomainname.com as entered earlier
- User Authentication must be set to "ON" and to "Use Same Password as Incoming Mail Server"

Verify your settings in the "Account Summary" screen
Click the "Take Account Online" button
Click the "Create" button to Finish setting up the new email account
Then on the "Account Information" screen select "Outgoing Mail Server" then "Edit SMTP Server List"
Select the SMTP Server you created earlier and click on the "Advanced" tab
Click the "Custom Port" option and enter 26 in the box. Make sure the "Use SSL" option is cleared.
Then close AppleMail and re-open it and you should now be setup and ready to go!
Please open a support ticket by emailing support@hostcake.com.au if you are still unable to access your email through AppleMail (one tip BEFORE you log a ticket is to make sure you can logon to your webmail at www.yourdomain.com/webmail (replace "yourdomain.com" with your own domain name) - the most common cause of email accounts not connecting propery is an incorrect password!)
